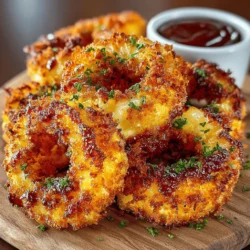
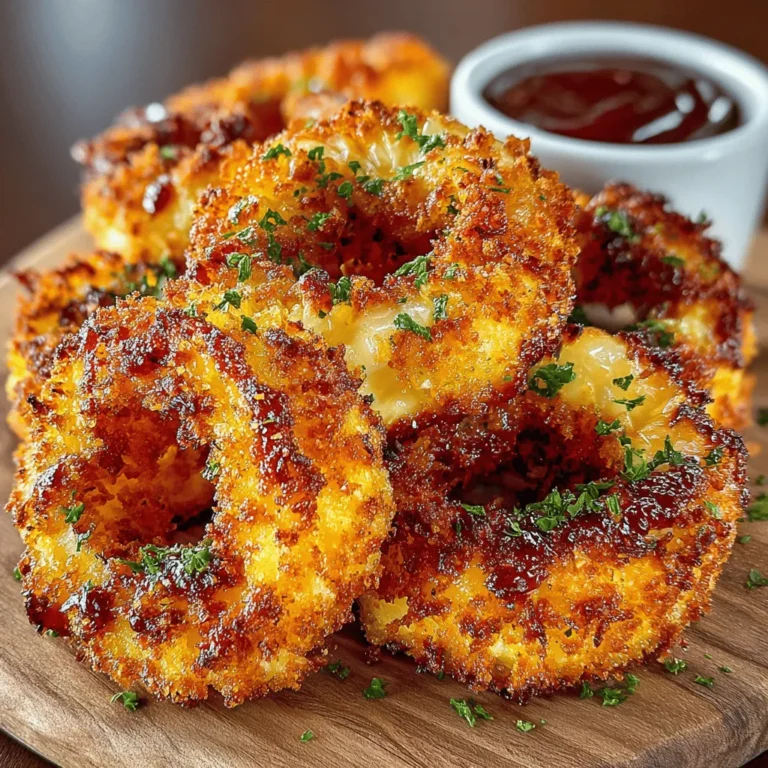
Onion rings are a beloved snack and side dish enjoyed by many. Their crispy exterior combined with the sweet, tender onion inside creates a delightful contrast that is hard to resist. The Golden Crunch Onion Rings stand out for their unique crunch and flavor, making them a favorite for casual gatherings, barbecues, or simply as a comforting treat. With easy-to-find ingredients and straightforward preparation, making these delicious rings at home is not only satisfying but also a way to customize the flavor to your liking.
Ingredients
– 2 large yellow onions
– 1 cup all-purpose flour
– 1 cup buttermilk
– 1 teaspoon garlic powder
– 1 teaspoon paprika
– 1/2 teaspoon cayenne pepper
– 1 teaspoon salt
– 1/2 teaspoon black pepper
– 1 cup panko breadcrumbs
– Oil for frying (vegetable or canola oil recommended)
Instructions
1. Prepare the Onions: Peel the onions and slice them into 1/4-inch thick rings. Separate the rings and set them aside.
2. Set Up Breading Stations: Prepare three bowls: one with all-purpose flour mixed with salt, pepper, garlic powder, paprika, and cayenne; the second with buttermilk; and the third with panko breadcrumbs.
3. Bread the Onion Rings: Dip each onion ring into the flour mixture, ensuring it’s coated evenly. Shake off any excess flour, then dip into the buttermilk, allowing the excess to drip off. Finally, roll the ring in the panko breadcrumbs until fully coated.
4. Heat the Oil: In a large pot or deep fryer, heat at least 2 inches of oil to 350°F (175°C). Use a thermometer to ensure the oil reaches the appropriate temperature for frying.
5. Fry the Onion Rings: Carefully add the breaded onion rings to the hot oil in small batches, avoiding overcrowding. Fry for about 2-3 minutes or until golden brown and crispy. Remove with a slotted spoon and place on paper towels to drain excess oil.
Understanding Onion Rings
Onion rings have a rich history in culinary culture, tracing back to various forms of fried onion dishes found across the globe. While they have become a staple in American cuisine, variations exist in other cultures, including the British “battered onion rings” and Indian “onion bhaji.” The preference for homemade onion rings often stems from the ability to control the ingredients and customize flavors, resulting in a fresher and more satisfying snack compared to their store-bought counterparts.
Ingredients Breakdown
– Yellow Onions: These onions are preferred for their sweetness and tenderness when cooked, making them ideal for frying.
– All-Purpose Flour: This ingredient creates a sturdy coating that adheres well to the onions and contributes to the overall crunchiness.
– Buttermilk: Beyond adding moisture, buttermilk introduces a subtle tanginess to the onion rings, enhancing their flavor profile.
– Spices: The blend of garlic powder, paprika, cayenne pepper, salt, and black pepper not only elevates the taste but allows for personalization based on heat preferences.
– Breadcrumbs: Panko breadcrumbs are the secret to achieving that extra crunch, as they create a lighter, airier texture than traditional breadcrumbs.
– Oil for Frying: Choosing the right oil is crucial for frying. Vegetable and canola oils are ideal due to their high smoke points, ensuring the onion rings fry evenly without burning.
Preparation Steps for Golden Crunch Onion Rings
Preparing the Onions
To achieve the perfect onion rings, start by carefully peeling the onions and slicing them into uniform rings, about 1/4 inch thick. Consistent thickness is key to ensuring that all rings cook evenly, providing a balanced crunch and tenderness.
Setting Up Breading Stations
Organizing your workspace into three distinct breading stations will streamline the preparation process. The first station, filled with seasoned flour, will help the buttermilk adhere to the onions. The second station, with buttermilk, adds moisture and flavor. The final station, panko breadcrumbs, is where the magic happens, giving your onion rings that irresistible crunch.
The Breading Process
Understanding the Three Stations
The breading process for Golden Crunch Onion Rings involves three key stations: flour, buttermilk, and breadcrumbs. Each station serves a specific purpose in achieving that perfect, crunchy coating.
1. Flour Station: This is the first step, where the onion rings are lightly coated in flour. This layer helps the buttermilk adhere better to the onion, creating a solid base for the subsequent coatings.
2. Buttermilk Station: Dipping the floured onion rings in buttermilk adds moisture and richness, which not only enhances flavor but also ensures that the breadcrumbs stick effectively.
3. Breadcrumb Station: Finally, rolling the buttermilk-coated rings in breadcrumbs provides the desired crunch. The type of breadcrumbs can vary; panko breadcrumbs yield an extra crispy texture, while regular breadcrumbs offer a classic crunch.
Tips for Perfect Coating Consistency
To ensure a uniform and satisfying coating, follow these tips:
– Use seasoned flour to enhance flavor.
– Let the excess flour shake off before dipping in buttermilk to avoid clumping.
– Press the breadcrumbs onto the onion rings firmly to create a thicker crust that holds up during frying.
Breading the Onion Rings
Step-by-Step Breading Technique
1. Begin by slicing your onions into thick rings, about half an inch wide.
2. Dredge each onion ring in the flour, covering all sides. Shake off any excess flour.
3. Dip the floured ring into the buttermilk, ensuring it is fully submerged.
4. Transfer the ring to the breadcrumb station and coat it generously, pressing to ensure the breadcrumbs adhere well.
5. Place the breaded onion rings on a wire rack to let them set while you prepare the oil for frying.
Heating the Oil
Ensuring the Right Oil Temperature
Heating the oil to the correct temperature (around 350°F to 375°F) is crucial for frying. If the oil is too cool, the onion rings will absorb excess oil and become greasy. Conversely, oil that is too hot may burn the coating before the onion is cooked through.
Safety Tips for Frying at Home
– Always use a deep, heavy pot or a deep fryer to prevent oil splatters.
– Use a thermometer to monitor oil temperature.
– Keep a lid nearby to smother any unexpected flames and never leave hot oil unattended.
Frying the Onion Rings
Step-by-Step Frying Instructions
1. Once the oil is heated, carefully lower a few breaded onion rings into the oil using a slotted spoon or spider tool.
2. Fry for about 2 to 3 minutes on each side until golden brown.
3. Avoid overcrowding the pot, as this can lower the oil temperature and result in soggy rings.
4. Use a slotted spoon to remove the onion rings and place them on paper towels to absorb excess oil.
Visual Cues for Perfectly Cooked Rings
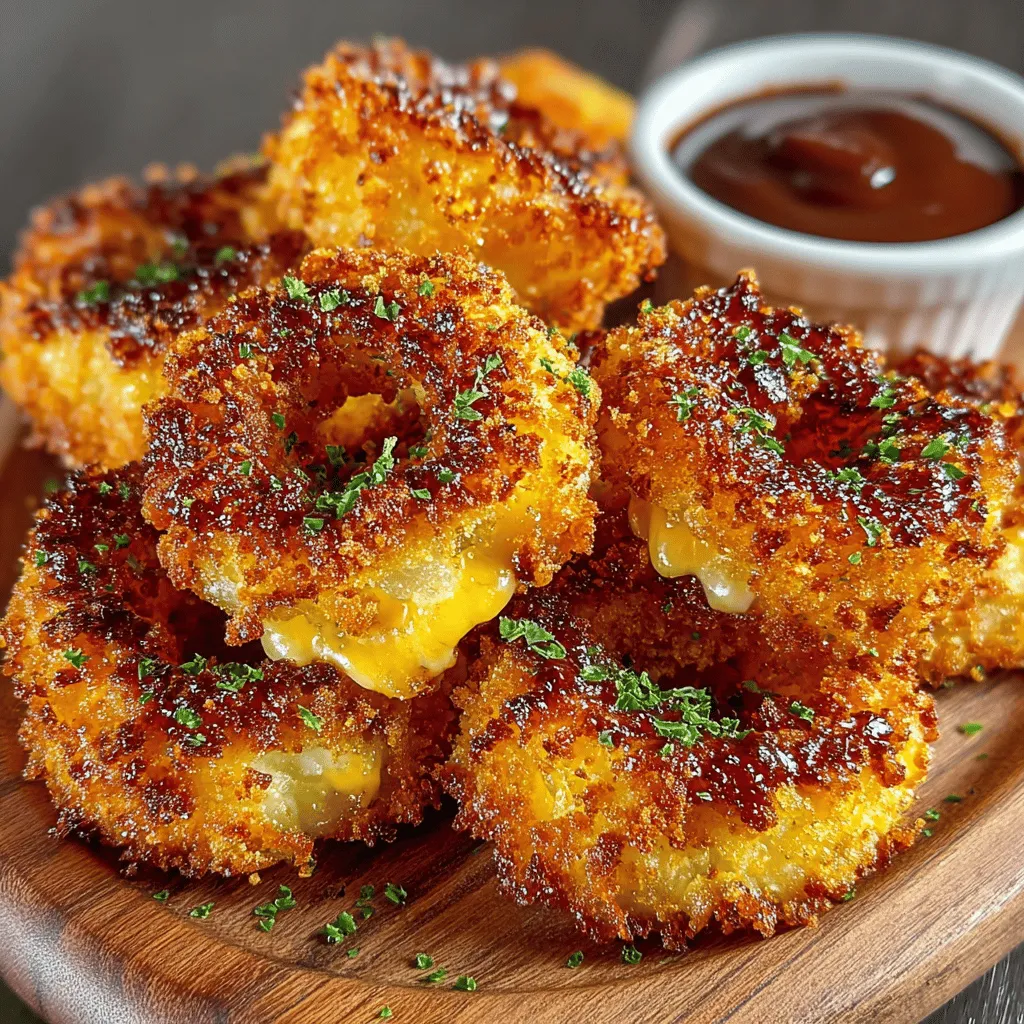
Look for a deep golden color and a crisp texture. The rings should float to the surface and sizzle when placed in the oil.
Serving Suggestions
Presentation Ideas
Serve your Golden Crunch Onion Rings in a rustic basket lined with parchment paper for a classic look. Alternatively, stack them vertically on a plate for an eye-catching display.
Recommended Dipping Sauces
Pair your onion rings with a variety of dipping sauces for added flavor. Some popular choices include:
– Classic ketchup
– Creamy ranch dressing
– Spicy sriracha mayo
– Tangy barbecue sauce
Meal Pairing Suggestions
Onion rings make an excellent side for burgers, grilled meats, or sandwiches. They also shine at parties, barbecues, or movie nights as a fun snack.
Nutritional Information
While indulgent, a serving of Golden Crunch Onion Rings typically contains around 250 calories, depending on the portion size and ingredients used. Enjoy them in moderation, and consider serving them alongside a fresh salad or grilled vegetables to balance your meal.
Conclusion
Creating Golden Crunch Onion Rings at home is a rewarding experience that fills your kitchen with delicious aromas. Don’t hesitate to experiment with different seasonings or breadcrumb types to tailor the recipe to your preferences. Sharing these homemade treats with family and friends makes every gathering more enjoyable, transforming a simple snack into a cherished memory.